
Become an Owner

Turn items you already own into rental income

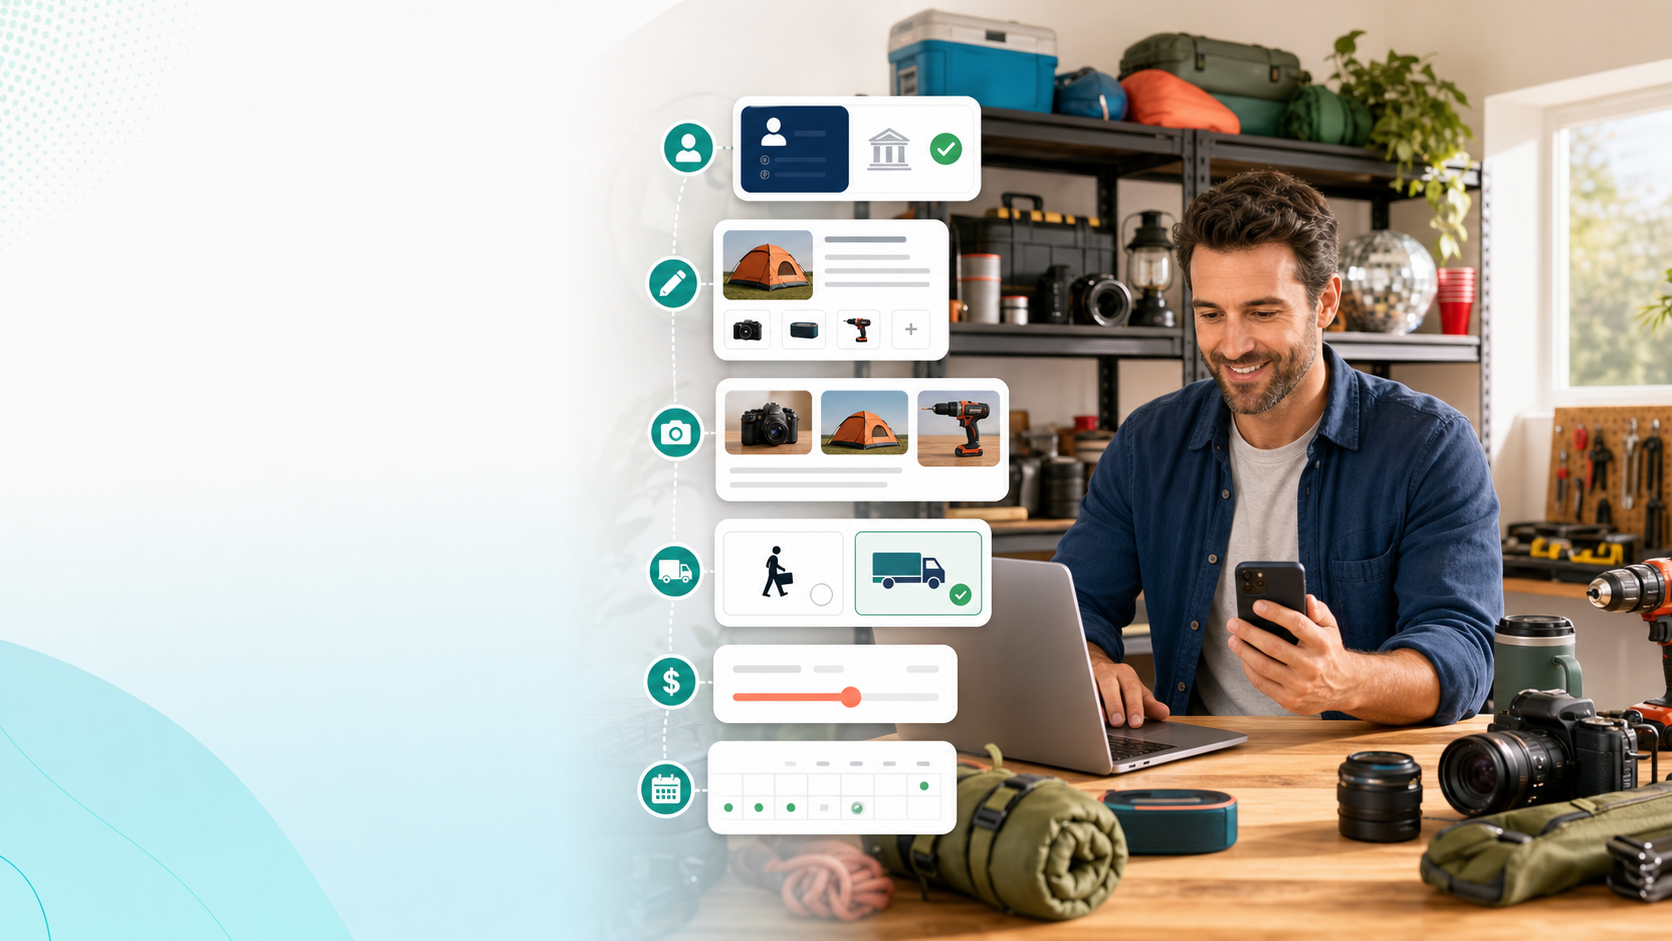
RentLokr gives owners a practical flow for payout setup, listings, photos, pricing, delivery choices, booking approvals, handoff documentation, and payouts.

RentLokr owner listing and payout setup process
Getting paid

Why do I need Stripe?

Stripe is RentLokr's payment provider. Owner payout setup lets us send your rental earnings to your bank account. RentLokr requires this setup before you can list an item.

New to Stripe?

Start with Set Up Payouts in Account Hub. Stripe guides you through your details and payout information. Have your contact information and bank details ready; Stripe may request identity or business information for verification.

Already have a Stripe account?

Still start from RentLokr's Set Up Payouts button. If Stripe offers sign-in or reuse of existing information, follow those prompts. You must finish the setup for RentLokr even if you already use Stripe elsewhere.

You do not need to create an unrelated Stripe account before starting here.

What happens when I return?

Account Hub checks your payout status. When setup is complete, the I'm an Owner tab and listing tools unlock. Returning from Stripe alone does not mean verification is finished.

Left midway or still seeing a setup message?

Open Account Hub and choose Finish Payout Setup. Complete any remaining requests from Stripe. If Stripe is still reviewing your details, return later to check the status.

Only renting? You do not need owner payout setup to browse or rent.

Go to Account Hub
Find your next step

Owner setup on desktop and mobile

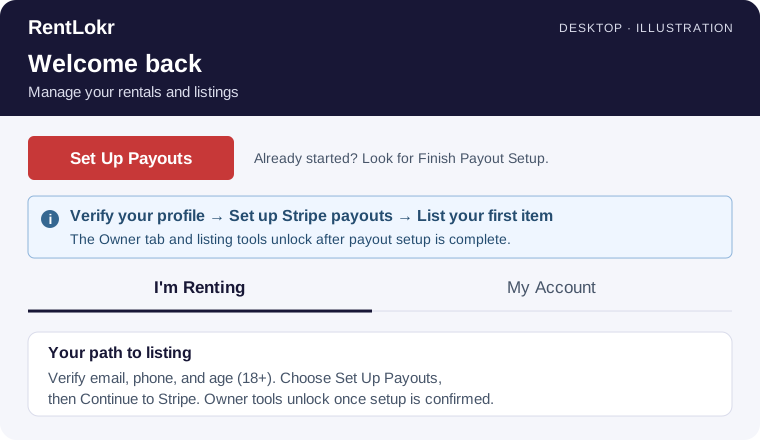
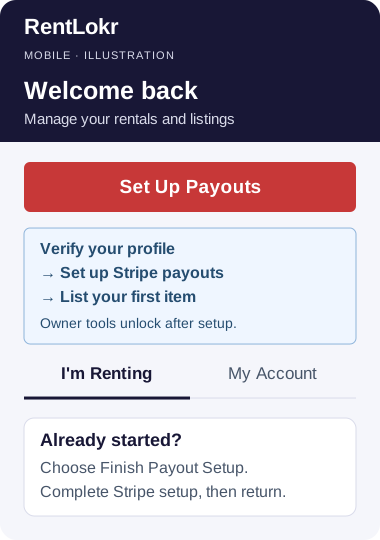
Illustrations of the controls to look for, not screenshots. Layout and Stripe's screens may vary. Use the links below the images to continue.

Desktop illustration: Set Up Payouts is above the setup notice and account tabs. Verify your email, phone, and age, then complete Stripe setup to unlock owner tools.
Desktop: find Set Up Payouts above the setup notice and account tabs.
Mobile illustration: the full-width Set Up Payouts button appears above the setup notice and account tabs. Finish Payout Setup resumes an incomplete setup.
Mobile: look above the account tabs for the payout button.
Owner setup

From payout setup to your first booking

A strong owner setup makes listings easier to trust and rentals easier to manage.

1

Set up owner payouts

Sign in and open Account Hub. Verify your date of birth, email, and phone, then choose Set Up Payouts. The Owner tab unlocks after payout setup is complete.

Choose Continue to Stripe to create or finish the payout account for RentLokr. Complete Stripe's prompts, then return to RentLokr. If you leave early, choose Finish Payout Setup in Account Hub to resume.

Once setup is confirmed, choose I'm an Owner or create your first listing.

2

Choose what to list

Start with items that are useful, easy to describe, safe to rent, and in good working condition, such as tools, camera gear, camping equipment, party supplies, or baby gear.

3

Add photos and listing text

Upload clear images, put the best image first, write an honest description, include accessories, and call out condition details or requirements renters should know.

4

Choose pickup, delivery, or both

Decide whether renters can pick up the item, whether you want to offer delivery, and whether delivery needs a standard fee, distance-based fee, or service area limits.

5

Set rates and availability

Set pricing that fits the item and rental length, keep availability current, and use deposits, late fees, or replacement values where they make sense for the item.

6

Approve, document, and get paid

Review booking requests, document pickup and return, submit a damage report if needed, and track payouts from your owner dashboard.

Listing checklist

What a strong listing includes

  • Clear cover image and supporting detail photos.
  • Accurate item name, category, description, and condition notes.
  • Included accessories, batteries, cases, chargers, or parts.
  • Instructions, safety notes, and renter expectations.
  • Any laws, permits, licenses, registrations, taxes, insurance, inspections, certifications, safety rules, disclosures, or category-specific requirements governing the listing or rental.
Operations checklist

What owners manage after listing

  • Approve requests that fit your schedule.
  • Coordinate pickup or delivery through secure messaging.
  • Document pickup and return condition.
  • Review earnings and payout status from your dashboard.
  • Identify and maintain compliance with every governmental, industry-specific, and contractual requirement applicable to offering the item for rent.
Pricing and delivery

Make the rental clear before a renter requests it

Renters should understand the item, the rental rate, when it is available, whether delivery is offered, and what happens if it comes back late or damaged. Clear setup helps reduce back-and-forth and avoids surprises at checkout.

Owner rule of thumb

Price for the value, risk, and convenience of the item. Use better photos and clearer terms before lowering your rate.

Owner education

Helpful guides before you list

Use these quick guides to choose strong items, price them clearly, and understand how documentation helps protect both sides.

Ready to list your first item?

Start with one item you know well, add clear photos, set practical rates, and build from there.

Open Account Hub for payout setup Already set up? Create a listing